How to Change the Strings on your acoustic Bass
An important step in learning to play the Bass is learning how to change strings. It can be very daunting for beginners because there are a lot of things you can do wrong. Here is a guide to teach you how to do it.
Before changing strings, you need to get everything set up.
What do you need?

There are a few accessories that are useful when changing strings. We use the OSWC-3H Ortega Winder and Cutter, it's a useful tool for turning the tuning pegs quickly and comfortably. It also allows you to cut the strings at the end. If you don't have one, you will have to tighten and loosen the strings by hand.
We recommend the OIWM Instrument Work Mat as a protective under the instrument.
You will need a suitable place to change your strings. Ideally a dining table where you have enough space. Lay the instrument on the Mat and place the piece of paper at the end of the bridge for the duration of the change.
Where to begin
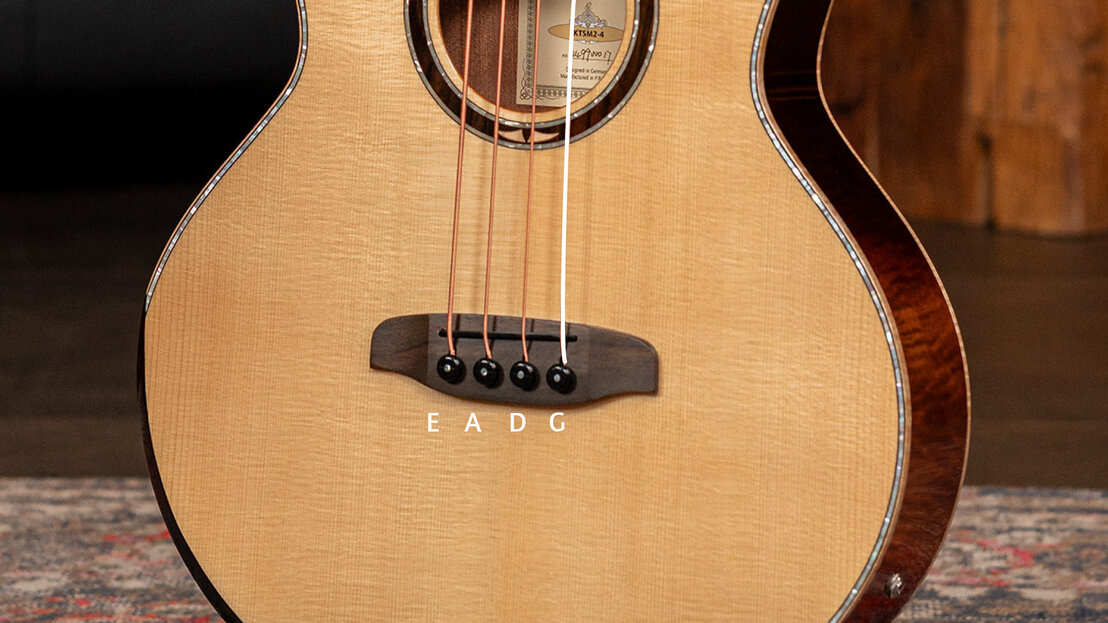
Now we begin the actual process of changing the strings. We recommend changing the strings one at a time to avoid putting too much pressure on the neck.
Removing the strings
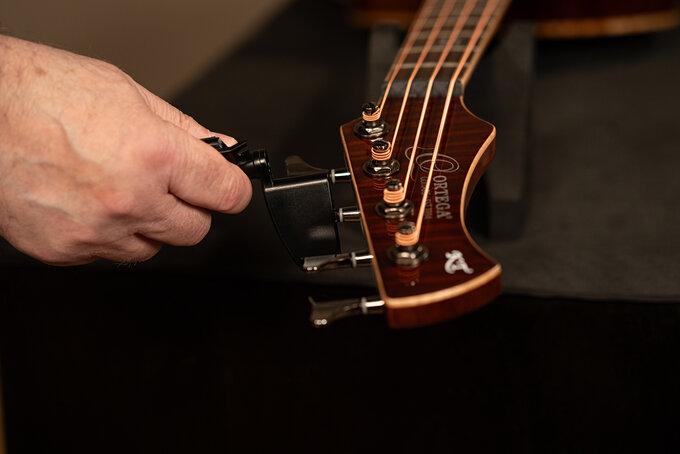
Use the string winder to lower the pitch of the first G-string and remove all the tension from the string
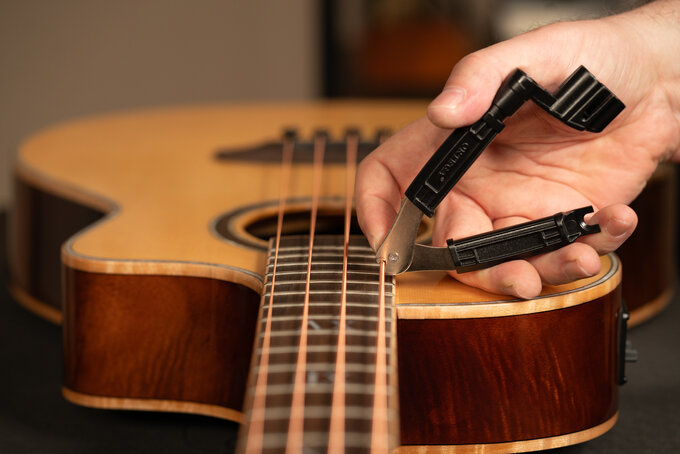
Cut the string and remove it from the headstock and the bridge.
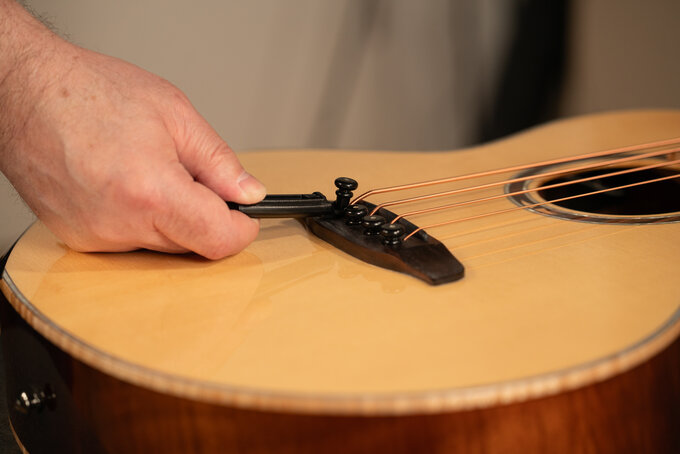
Pull the pin out of the bridge and take the string out.
Installing the strings
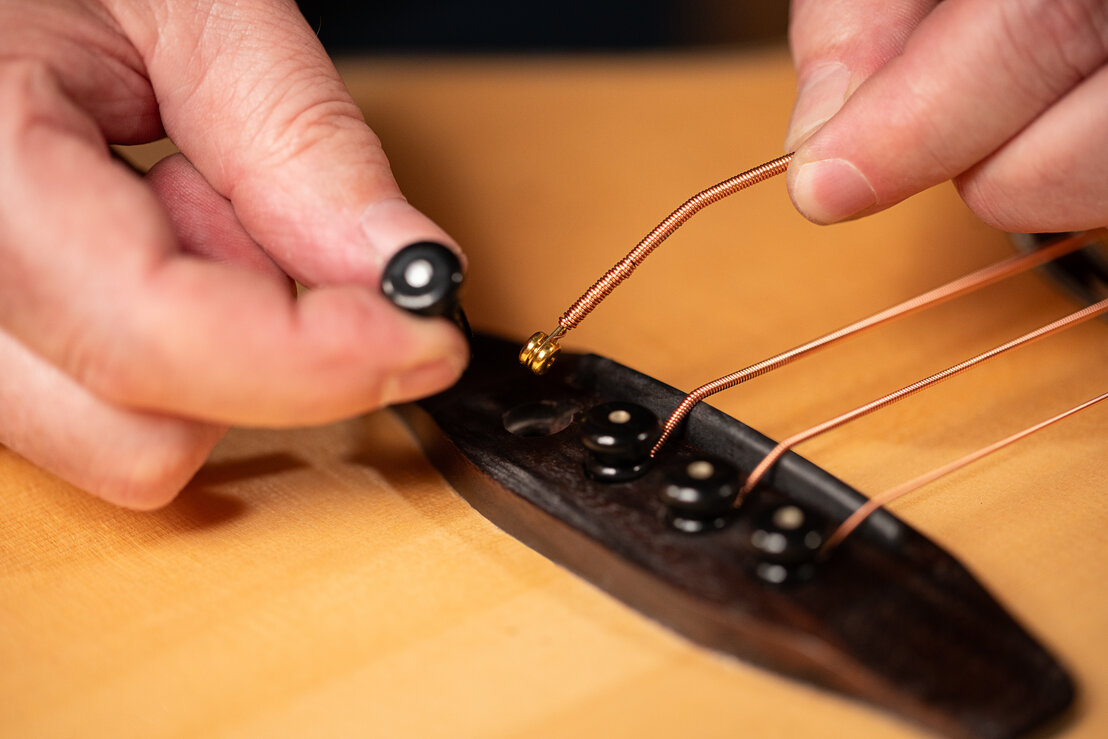
Now take the string and insert one end into the string hole at the bridge.
Now put the pin back in. The string should not come loose.
At the headstock
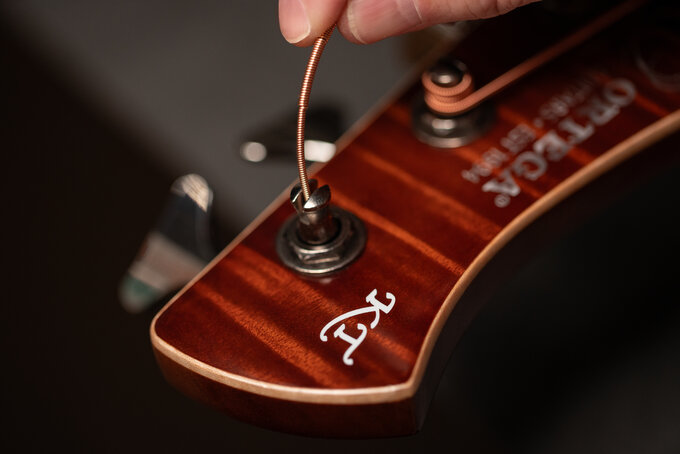
At the headstock you will see that the tuning heads have a slot in them.
Start by inserting the string into the slot and pulling it tight.
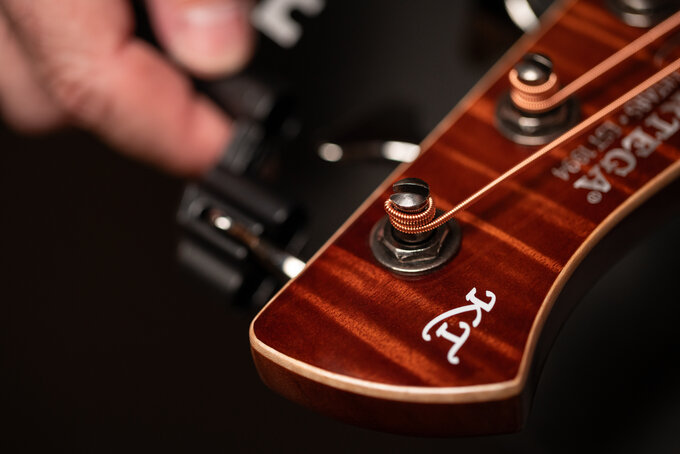
Now wrap the string around the tuning peg and tune the string to pitch.
Repeat these steps for all the strings.
